Pressure washing is an effective way to remove dirt, grime, and other stains from the exterior of your home. It’s especially important in areas like Vancouver, where the wet climate can cause algae and other organic growth to accumulate on the sides of buildings. However, pressure washing can be a tricky process, and if done incorrectly, it can damage your home’s siding or even injure yourself. In this guide, we’ll walk you through the steps of pressure house washing in Vancouver, so you can safely and effectively clean the exterior of your home.
Step 1: Gather Your Supplies
Before you begin pressure washing your home, you’ll need to gather the necessary supplies. These include a pressure washer, cleaning solution, safety equipment, and a ladder. For best results, choose a pressure washer with a minimum of 3000 PSI (pounds per square inch) and a 3 GPM (gallons per minute) flow rate. You can rent a pressure washer from your local home improvement store or hire a professional pressure washing company like Boost Mobile Detailing in Vancouver.
Step 2: Prepare the Area
Before you begin pressure washing, you’ll need to prepare the area around your home. This includes covering any delicate plants or flowers with plastic sheeting, turning off outdoor electrical outlets, and removing any outdoor furniture or decor. You should also close all of your windows and doors to prevent water from entering your home.
Step 3: Apply Cleaning Solution
Before you start pressure washing, it’s important to apply a cleaning solution to your home’s exterior. This helps to break down any dirt or grime, making it easier to remove with the pressure washer. You can use a commercial cleaning solution, or make your own by mixing equal parts of bleach and water. Be sure to wear gloves and eye protection when applying the solution, and follow the manufacturer’s instructions for dilution ratios and safety precautions.
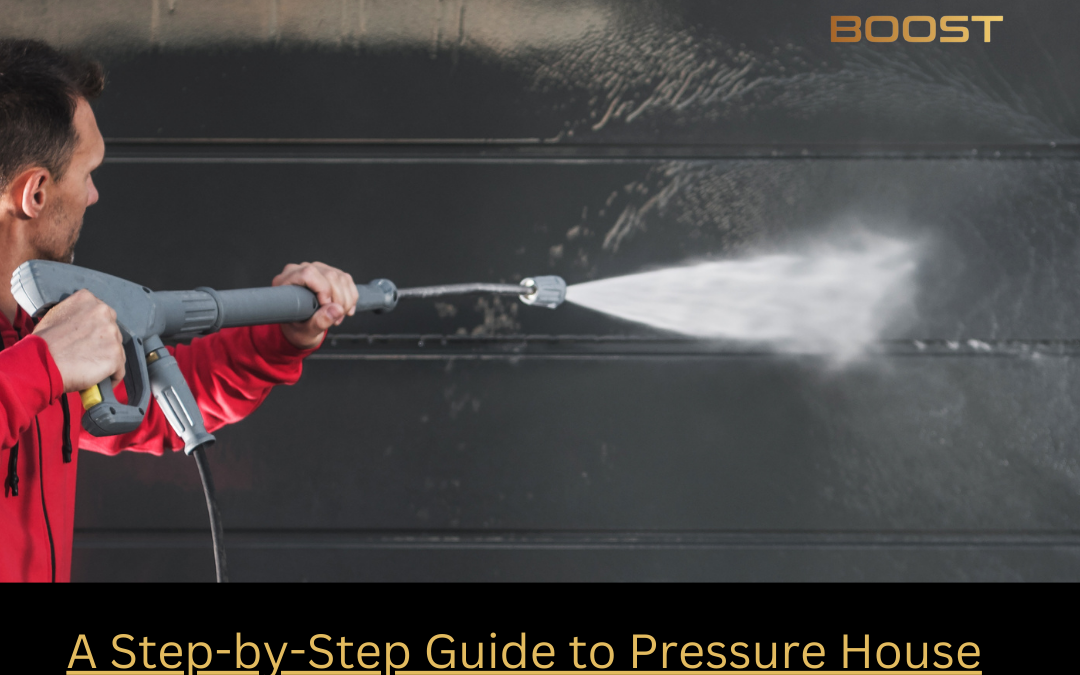
Step 4: Pressure Wash the Exterior
Once the cleaning solution has had time to work, it’s time to start pressure washing. Begin at the highest point of your home’s exterior and work your way down. This helps to prevent streaking and ensures that all dirt and grime are washed away. Hold the pressure washer wand at a 45-degree angle and work in small sections, overlapping each pass to ensure complete coverage. Be sure to use the appropriate nozzle for the surface you’re cleaning, and adjust the pressure as needed to prevent damage to your home’s siding.
Step 5: Rinse the Exterior
After you’ve pressure washed the entire exterior of your home, it’s time to rinse away any remaining dirt or cleaning solution. Use a wide spray nozzle and hold the wand at a 90-degree angle to the siding to prevent water from getting behind the panels. Rinse thoroughly, working from the top down, and be sure to remove any plastic sheeting or protective coverings you’ve placed around delicate plants or furniture.
Step 6: Clean Up and Maintenance
After you’ve finished pressure washing, it’s important to clean up and maintain your equipment. Disconnect the pressure washer from the power source and drain any remaining water from the hoses and wand. Store your equipment in a dry, secure location to prevent damage or theft. You should also inspect your home’s siding for any signs of damage or wear, and address any issues before they become more serious.
Conclusion:
Pressure washing your home’s exterior can be a time-consuming and challenging process, but with the right equipment and techniques, it can be done safely and effectively. By following these steps and taking appropriate safety precautions, you can keep your home looking clean and beautiful year-round. If you’re not comfortable with pressure washing your home, or if you don’t have the necessary equipment, consider hiring a professional pressure house washing company in vancouver like Boost Mobile Detailing.
Recent Comments